ISO Noise and Low Light: Cures, Tips and Techniques
What on earth is all that noise in my photo?
Most every digital SLR camera made today has the ability to take great photos if left on Auto setting. But that doesn't mean in every situation you'll get great results. You can see easily what I mean.
A Classic Mistake to Avoid
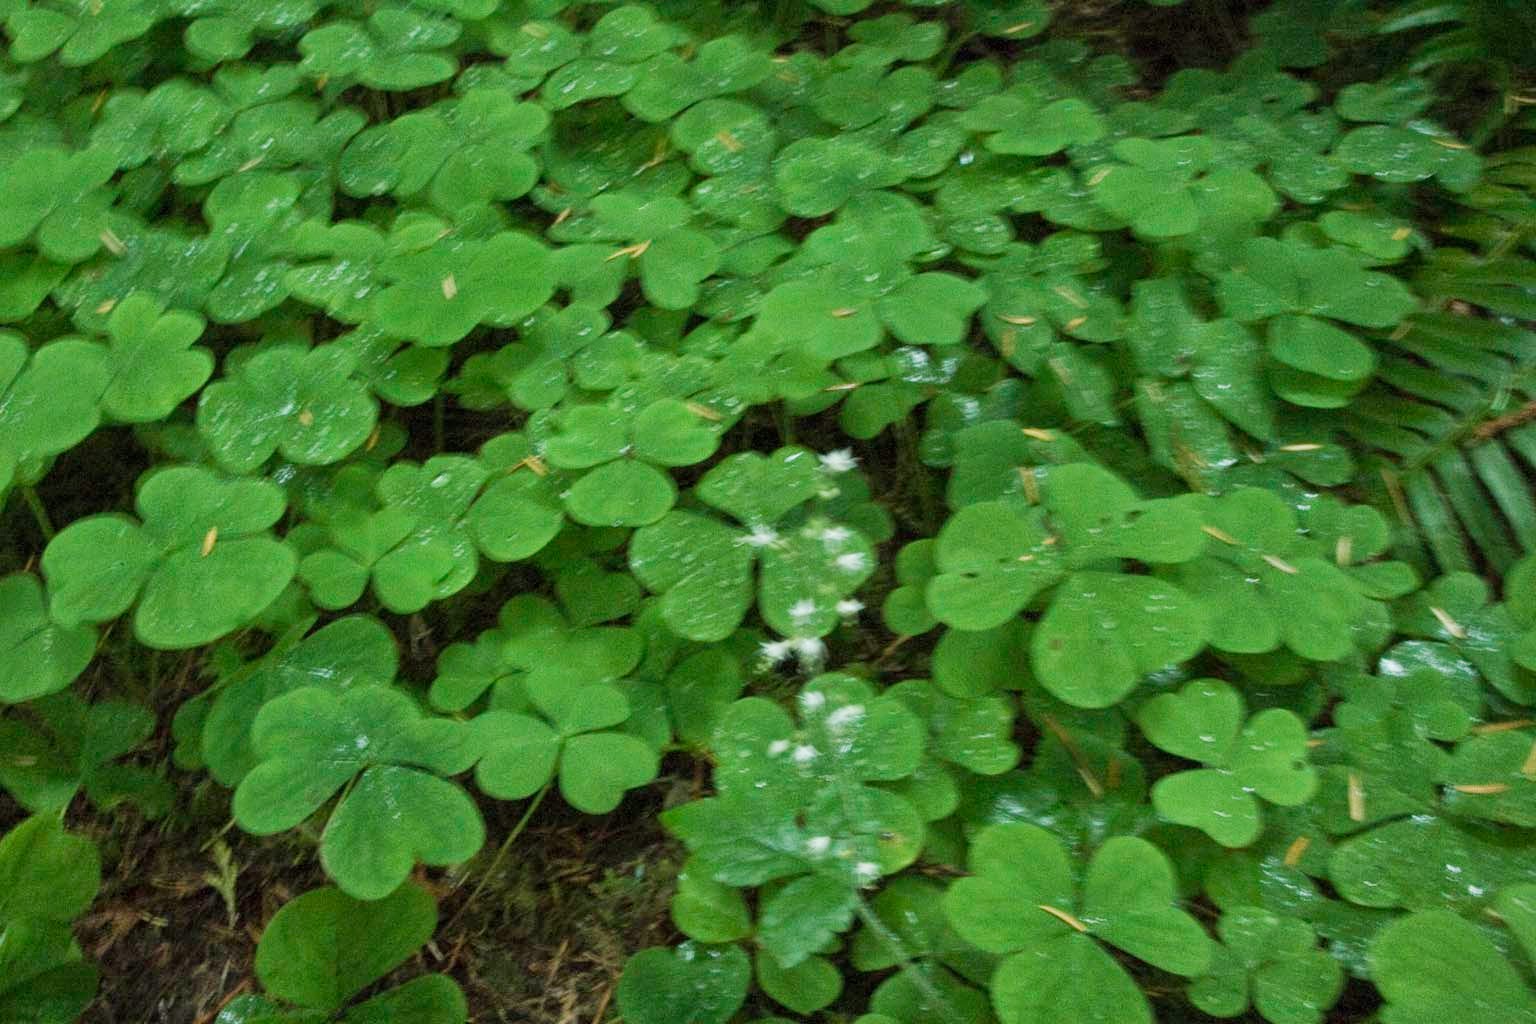
Take a close look at the photo of clover I took on a cloudy day in Washington State in the Spring. The clouds were rather thick and only low, diffused light was hitting the subject so I took the shot and the result was quite dark. Next in order to achieve a test of F22 using a 24-105mm lens, I pushed the ISO up to 1600. This allowed more light, giving the subject enough to see well enough, But it kept the lens open a full 1/3rd of a second, meaning unless I could hand hold a shot as a statue, and I can't, I was bound to get an OOF (out of focus) capture. And I did.
I could see on the lcd that it was blurry and I could have followed through achieving a clear shot by using a couple of different tactics, such as moving the F-stop to wide open, or using a tripod. What I wanted to do was see how much, if at all, the image could be improved with Photoshop.
Lesson Learned
When opening in Photoshop, there is nothing one can do with the blurriness when its as far off as this one. Normally when you have a clear focus, and you want it even sharper, its a slam-dunk. But just to test out what would happen bumping up the brightness, I opened the Raw file into a Smart Object, then, as is my habit, I added a Layer to adjust the brightenss.

It was showing in Camera Raw a setting of 55. Once I turned it up to the maximum amount of 150, as you'll see below, it did nothing to reduce noise. I would have had to use Noise Ninja or another noise reducer, but it wouldn't have made a lousy picture better. Clearly all I did was brighten a poor image.
The Next Step

So I used a Filter within Photoshop called Noise, Reduce. What was accomplished was negligible even when prompting the noise reduce filter to the maximum values of Strength 10, Preserve Details 0, Reduce Color Noise 100% and Sharpen Details 0. What I got was a much blurrier image with less noise. Was there a happy medium I could have reached? In most clearly captured images yes absolutely. In this image because I challenged a dslr with improper settings, absolutely not.


Comments
Post a Comment
Comments