Creating a Strong Printable Photo

When you have a shot you really like and want to get the very best print out of it, here's a technique I find very successful. It involves just a few manipulations that you'll find easy to master assuming you have Adobe CS-CS4.
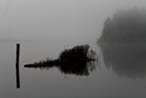
This shot I got of a Spring cloud formation in March of this year was very acceptable. As I ingested it into a new gallery I thought this will be a good shot I can do something with one day. So I gave it a star, but did not name it. After a few months of working on other images I decided to revisit it and upon looking it over I clearly decided it would need some revision.The image above is the before image.
Here's my workflow.
After opening and duplicating your image, and I find the easiest way to duplicate is to drag down the original background image onto the create a new layer icon under the layers palette, go to the Layer Tab, then New Adjustment Layer, then Levels. From here you can define a much stronger contrast ratio by utilizing the histogram tool. Grab the upper slider on the left under the black end of the graph and gently slide toward the center just a bit until you feel sufficient darkness has added power to your photo. Then with the slider on the right, and here I had to be very careful with not blowing out the highlights, you will be able to add to the exposure levels until you again feel adequate strength has improved your photo. You can also lower the Output levels below if you need to, but this has a tendency to reduce the contrast, which of course lessens the dramatic look you have just created. Still it might be necessary. Only your photo and you can determine this. I tend to leave this setting alone.
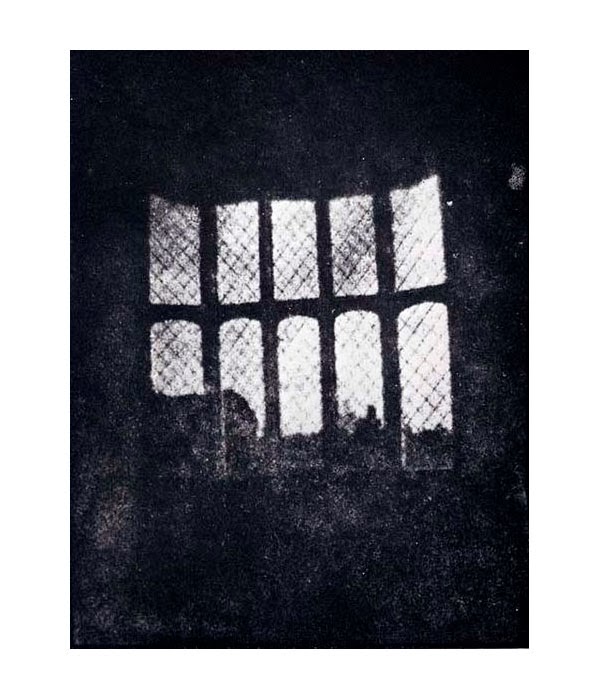
The next setting I like to adjust is the Curves settings. Layer, New Adjustment Layer, Curves. Depending on your image this can be a very fine and delicate technique or a more aggressive one. With this image so close to higher contrast I had to gently apply only a slight change in both ends of the light spectrum. But it was enough to see what I wanted. And here's the result.

You can see the powerful effect these two tools can have on a rather normal capture. Clearly using more tools might provide you with much more that just higher contrast, which I often do, but this is an example of a fairly easy manipulation technique you can try on something you consider ordinary. I used the Clone Stamp tool to remove the Crow. And to be honest I lost a wee bit of detail in both the highlights and shadows, but the effect was in line with what I wanted to achieve. The print on matte paper was a bit dull and gloss was too much. It was Epson's Photo Luster that provided me with the best look. I hope you can find use in this simple technique.


Comments
Post a Comment
Comments