Soft Proofing in Photoshop
Soft Proofing an image is the most accurate way to achieve the look of how the print will appear on paper.
Ever noticed that your print doesn't come out quite as vibrant as it looked in Photoshop? Surely there are a host of reasons outside the scope of this article, but I'll make the assumption you already are familiar with image preparation and color profiling, paper selection and the how of printing basics. Once you have these down the next step is to get your image to the very closest that your camera's image sensor captured.
Open your file in Photoshop. Next choose View, Proof Setup, Custom. The window reads Customize Proof Condition. Select Device to Simulate, then proceed to choose the paper profile you will be printing on. There will come associated with the imbedded profiles Photoshop and your printer software has already configured. You may also have added a few for certain papers or profiles from your print shop.
Select the one you wish to print to, for example I chose Premium Luster, an Epson favorite of mine. I also made sure that one of Relative Colorimetric or Perceptual was selected along with Black Point Compensation checked, a must for accurate color retention. Finally put a check next to Simulate Paper Color.
Now go to Image, Duplicate and click OK. Then go to Window, Arrange, Match Zoom & Location. I actually had to correct the zoom manually so both images matched precisely in the lower left hand corner which shows the zoom level at 25.66%. The key here is to compare your selections. The original image will look exactly as your profile converts it, but with a somewhat diminished vibrancy. The reason is that a printed copy will not ever match the brilliance of an lcd with backlighting. So you'll need to attempt to bring some of that back as much as is possible without, unless it is your intent, pushing beyond the limits of accuracy.


.
.
.
.
.
.
.
.
.
.
.
.
.
.
.
.
.
You can do this to the duplicated image by massaging with Layer, New Adjustment Layer, then Curves, Brightness, Hue, Saturation. And as they are side by side you'll see clearly the differences as you make these adjustments.But I think you'll discover a great new way to compare rather than just using feel as a manner of comparing your image variables. It is the most accurate method of judging the final print, and can obviously save you a bundle on ink costs. You probably won't find this article on any ink manufacturer's web site.
Printed out of course, with all the variables, you'll find some will not meet your expectations, but as you become more and more comfortable with the adjustments, you'll get closer to what you are expecting of the printed outcome.
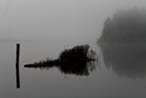
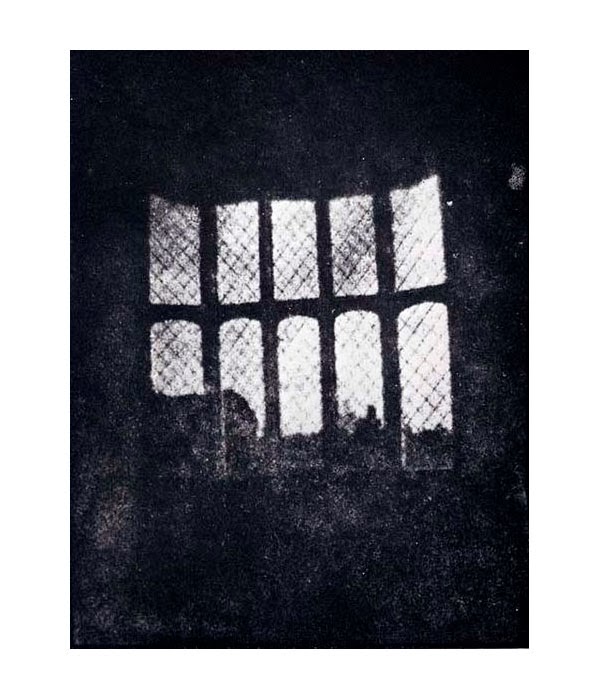
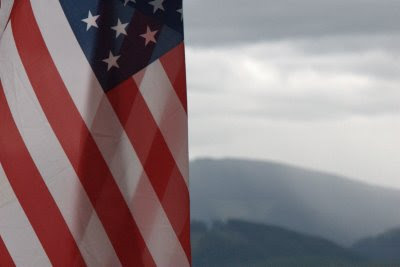
The images above are low resolution (96 ppi) images for online viewing only.
Ever noticed that your print doesn't come out quite as vibrant as it looked in Photoshop? Surely there are a host of reasons outside the scope of this article, but I'll make the assumption you already are familiar with image preparation and color profiling, paper selection and the how of printing basics. Once you have these down the next step is to get your image to the very closest that your camera's image sensor captured.
Open your file in Photoshop. Next choose View, Proof Setup, Custom. The window reads Customize Proof Condition. Select Device to Simulate, then proceed to choose the paper profile you will be printing on. There will come associated with the imbedded profiles Photoshop and your printer software has already configured. You may also have added a few for certain papers or profiles from your print shop.
Select the one you wish to print to, for example I chose Premium Luster, an Epson favorite of mine. I also made sure that one of Relative Colorimetric or Perceptual was selected along with Black Point Compensation checked, a must for accurate color retention. Finally put a check next to Simulate Paper Color.
Now go to Image, Duplicate and click OK. Then go to Window, Arrange, Match Zoom & Location. I actually had to correct the zoom manually so both images matched precisely in the lower left hand corner which shows the zoom level at 25.66%. The key here is to compare your selections. The original image will look exactly as your profile converts it, but with a somewhat diminished vibrancy. The reason is that a printed copy will not ever match the brilliance of an lcd with backlighting. So you'll need to attempt to bring some of that back as much as is possible without, unless it is your intent, pushing beyond the limits of accuracy.


.
.
.
.
.
.
.
.
.
.
.
.
.
.
.
.
.
You can do this to the duplicated image by massaging with Layer, New Adjustment Layer, then Curves, Brightness, Hue, Saturation. And as they are side by side you'll see clearly the differences as you make these adjustments.But I think you'll discover a great new way to compare rather than just using feel as a manner of comparing your image variables. It is the most accurate method of judging the final print, and can obviously save you a bundle on ink costs. You probably won't find this article on any ink manufacturer's web site.
Printed out of course, with all the variables, you'll find some will not meet your expectations, but as you become more and more comfortable with the adjustments, you'll get closer to what you are expecting of the printed outcome.
The images above are low resolution (96 ppi) images for online viewing only.


Look at the detail in the wings! Awesome!!
ReplyDeleteI was wondering if it was possible to get some decent shots in rainy weather? And how would I go about that, what with the lack of light?
ReplyDeleteThanks!
Robin, my apology for the delay. Light is the key. But you'll need to steady your camera by placing it on a post, a rock, or a tripod because the extra time needed for your camera & lens to gather extra light will cause your lens to stay open longer & you won't be able to hold your camera steady without support.
ReplyDelete